
Kitchen Renovation on a Budget
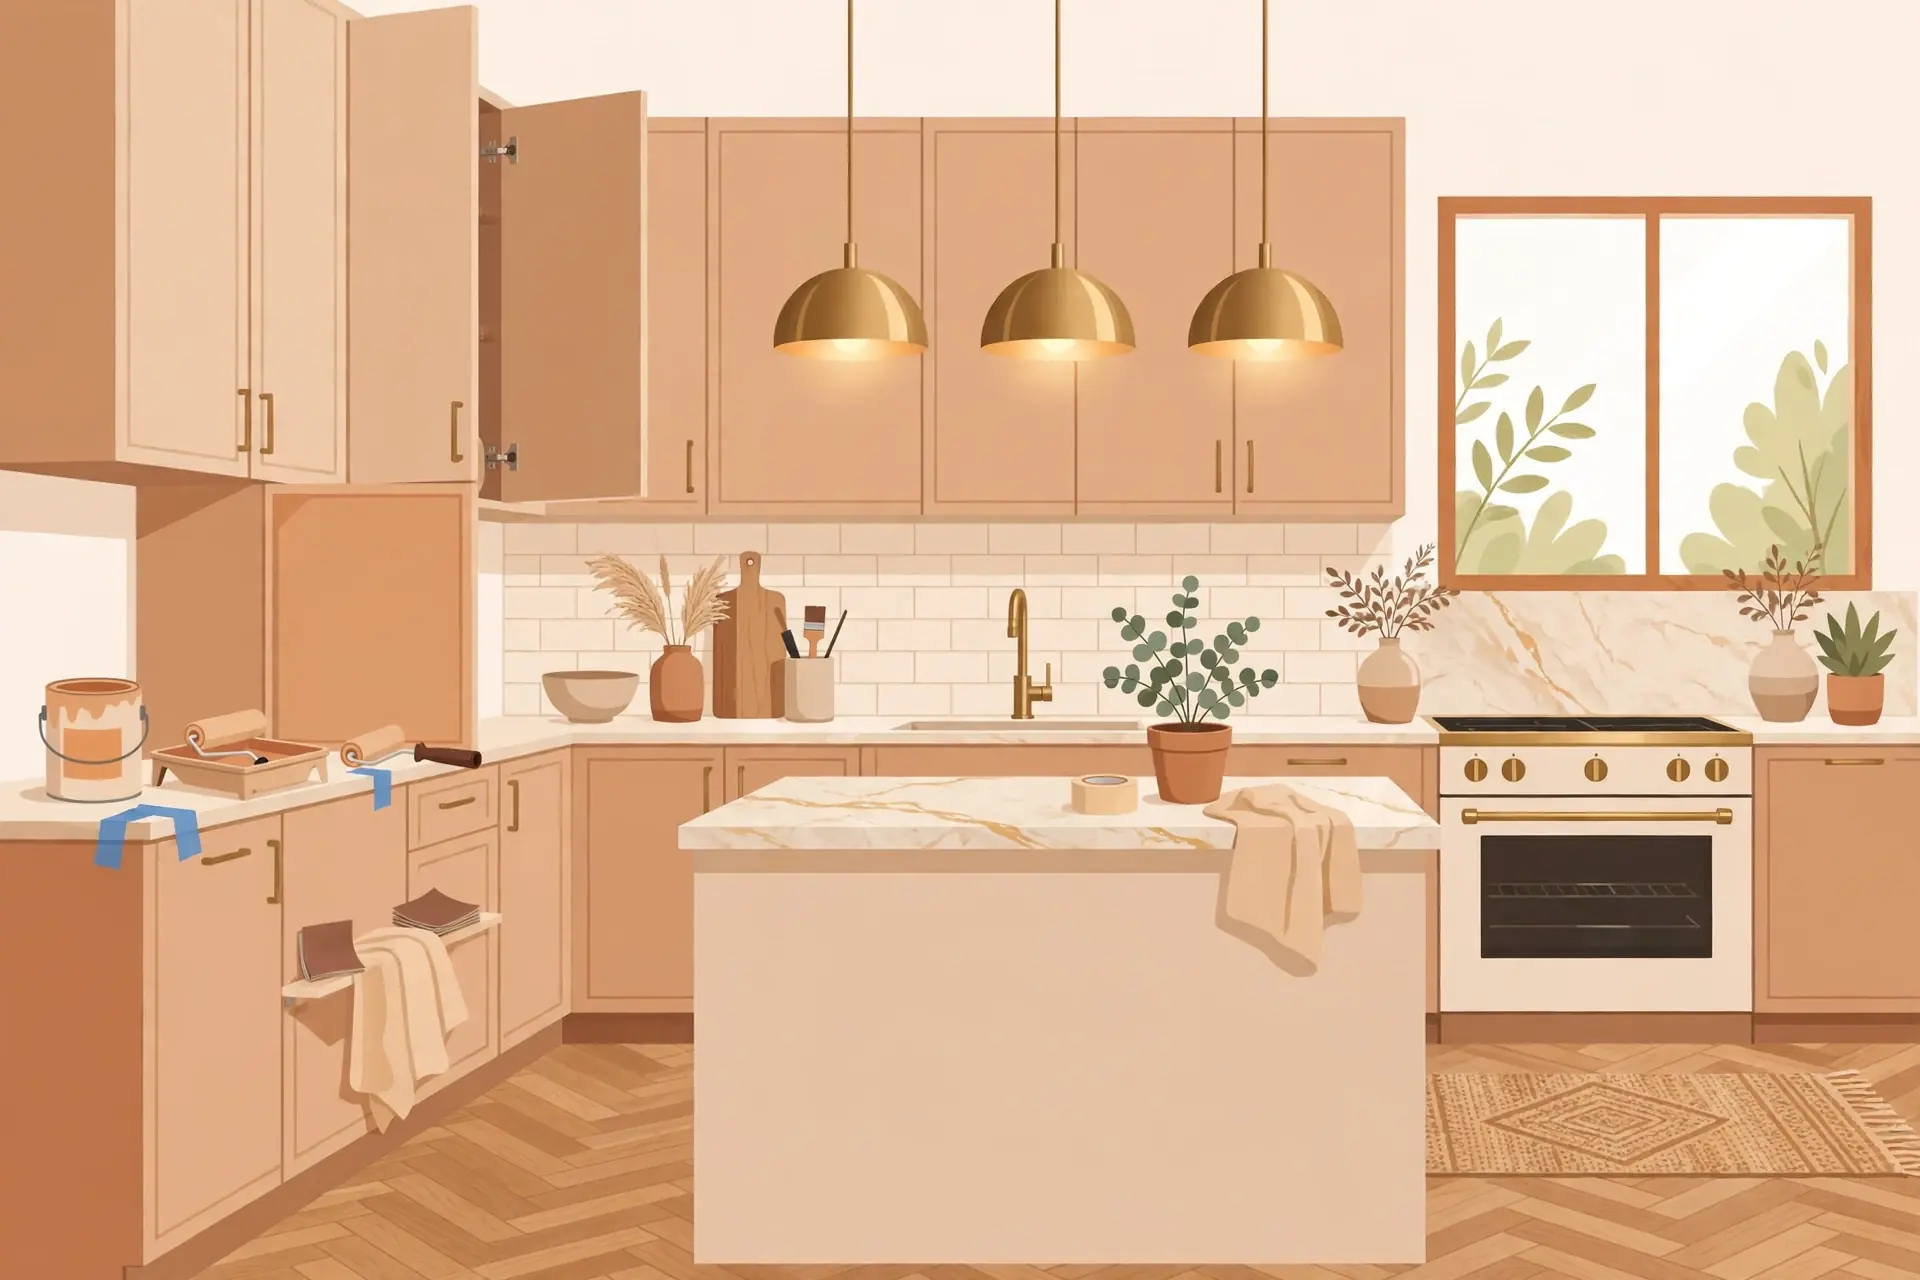
A kitchen renovation is one of the most expensive projects in any home — a full remodel can cost more than $26,000 on average — but it does not have to. A budget kitchen renovation is not a full gut job. It targets the visible, high-impact elements: cabinets, countertops, backsplash, hardware and lighting, while leaving the floor plan and the major appliances in place. Done well, a refresh like this can make the room feel completely new for a fraction of the cost of a complete overhaul.
This guide shows you where the money actually goes in a kitchen renovation, which upgrades give you the best return, and how to plan a project that looks expensive without the expensive price tag. The golden rule throughout is simple: refresh what you already have before you replace it, and spend your money where your hands touch every day. For the rest of the house, our Home Improvement guides cover painting, shelving and insulation.
⚡ Quick Answer: Kitchen Renovation on a Budget
The cheapest kitchen transformation comes from keeping your layout exactly as it is, refreshing instead of replacing, and spending only where it shows. Paint or reface your existing cabinets instead of buying new ones, add a peel-and-stick backsplash, swap the hardware and faucet, and upgrade the lighting. Set a hard spending ceiling, add a 10 to 15 percent contingency for surprises behind the walls, and get at least three quotes for any work you hire out. Never cut corners on plumbing or electrical work — a mistake there costs far more than the money you saved.
Contents
- Quick Answer: Kitchen Renovation on a Budget
- Start With a Plan and a Real Budget
- The Decision That Saves the Most Money: Keep the Layout
- Cabinets: Paint, Reface or Replace?
- Countertops on a Budget
- Backsplashes That Look Expensive
- Hardware, Faucets and Lighting
- Paint, Floors and the Finishing Touches
- Where to Splurge and Where to Save
- Phasing Your Project Over Time
- Mistakes That Blow the Budget
- Frequently Asked Questions
Start With a Plan and a Real Budget
Before you buy a single tin of paint, set a clear budget and decide which upgrades matter most to you. A common mistake is spreading money thinly across many small projects so that nothing feels finished. Pick the two or three changes that will transform the room and fund those properly, rather than doing a little of everything.
Set a hard spending ceiling and add a 10 percent contingency for unexpected surprises like damaged drywall, a stuck fitting, or wiring that turns out to be older than you thought. Most budget-friendly changes, such as painting or changing hardware, take a weekend. A partial renovation spread over several weekends is realistic — expect two to four weekends for a full cosmetic refresh. Get three quotes minimum for any work you hire out; price spreads between bids routinely run to 40 percent for identical work, so never accept the first number you hear.
The Decision That Saves the Most Money: Keep the Layout
The single biggest money decision in any kitchen renovation is whether to move things. Kitchens are full of plumbing and electrical components that are expensive to move. The moment water lines or gas lines shift, your quote inflates fast — permits, extra labour, patching, and possible code upgrades triggered along the way. Keeping the sink, cooker and fridge exactly where they are is the fastest way to keep a renovation affordable.
The same logic applies to walls. Knocking down a wall or moving a doorway turns a cosmetic project into a structural one, with engineering checks and building approvals. If your layout works, keep it and spend the money on the surfaces you see and touch every day instead. A kitchen is the room where the family cooks and gathers, and a good layout is one that already works — it does not need to be reinvented to look new.
Cabinets: Paint, Reface or Replace?
Cabinets are the largest visual surface in most kitchens, so upgrading them transforms the room — and new cabinetry is also typically 30 percent or more of a kitchen remodel budget. The good news is that you have cheaper options. Painting your existing cabinets is the lowest-cost way to change the room: DIY materials run from about $200 to $600, or much less if the cabinets are in good shape and you only need paint, primer and sandpaper. Hiring a professional to paint them typically costs $1,200 to $6,000, while new cabinet installation runs from $1,830 to $8,955.
The key to a durable cabinet paint job is preparation. Clean the surfaces with a degreaser, sand lightly to rough up the finish, and use a primer designed for laminate or wood. Choose a quality cabinet paint in a satin or semi-gloss sheen — it resists fingerprints and wipes clean. Popular budget-friendly colours include white, off-white and light grey, which brighten the space and appeal to future buyers. One warning: cabinet painting looks easy on home improvement shows, but a factory-smooth finish takes careful sanding, cleaning, priming and a proper sprayer or high-quality brush. Rollers and brushes leave marks and the paint is more likely to chip if the prep is rushed, so be honest about your patience before you start.
If your cabinet boxes are solid but the doors are dated or warped, consider refacing: keeping the boxes and attaching new doors and drawer fronts. Refacing costs a fraction of full replacement and gives you a genuinely new look. Stock cabinets and ready-to-assemble options are the affordable route if you do need to replace — flat-pack cabinets you assemble yourself cost far less than custom-built ones. And do not throw out old cabinets that are structurally sound; cabinets from older homes are often better quality than modern flat-pack ones, and a new finish can make them look brand new.
Countertops on a Budget
Countertops are the second-biggest visual surface in the kitchen, and replacing them changes the room dramatically. Laminate is the budget champion at roughly $10 to $30 per square foot and comes in convincing stone and wood looks. Butcher block is a warm, practical option at about $20 to $40 per square foot and can be sanded and re-oiled when it gets marked. Large-format tile costs around $5 to $15 per square foot if you install it yourself, though tiling a countertop is a harder DIY job than it looks.
Before you replace, ask whether your existing countertop can be saved. A tired laminate top can be resurfaced with a countertop refinishing kit, and a wooden top can be sanded and re-sealed. If you do replace, choose a hard-wearing material for the areas around the sink and cooker, where water and heat cause the most damage. A Home Improvement refresh often comes down to two surfaces — cabinets and counters — and if you get those two right, the room reads as new.
Backsplashes That Look Expensive
A new backsplash is one of the highest-impact, lowest-cost kitchen upgrades. Peel-and-stick tile is the budget champion: it costs $5 to $15 per square foot, installs in an afternoon with no special tools, and removes cleanly if you change your mind later. Real ceramic subway tile is not much more expensive if you are willing to learn basic tiling, and it is the finish buyers most often associate with a quality kitchen.
Other budget options include a painted backsplash — specialist tile paint can transform dated tiles for the price of a tin of paint — beadboard, or a single sheet of stainless steel behind the cooker, which is practical and looks professional. Whichever you choose, run the backsplash to the underside of the wall cabinets for a finished look, and seal the edges with silicone where it meets the worktop so water cannot get behind it.
Hardware, Faucets and Lighting
Small details make a kitchen feel new faster than anything else. Swapping dated cabinet knobs and drawer pulls for a modern finish — matte black, brushed brass or polished nickel — costs little per piece and changes the look of every cabinet in the room. Measure the distance between the screw holes on your old handles before you buy, so the new ones fit without drilling fresh holes.
A new faucet is a similar win: it is a small purchase that you touch many times a day, and a modern single-lever or pull-down faucet instantly updates the sink area. Choose a finish that matches your new hardware so the room feels coordinated. Lighting is the third cheap upgrade — under-cabinet LED strips make the worktop brighter and the kitchen feel more expensive, and a new pendant light over an island or table becomes a focal point for very little money. Browse our Lifestyle ideas for styling the finished room once the work is done.
Paint, Floors and the Finishing Touches
A fresh coat of paint is the lowest-cost way to change a kitchen’s atmosphere. Walls, trim and even the kitchen island can be transformed for $50 to $150 in materials, and if you do not like the colour, you can repaint. Choose a light, neutral colour for the walls — warm white or pale grey — to make the space feel bigger, and use a kitchen and bathroom paint that resists moisture and wipes clean.
Floors are a bigger job, but there are budget routes: luxury vinyl tiles that click together can go over many existing floors without ripping them up, and a good deep clean and re-seal can rescue tired tiles. Finishing touches cost almost nothing and matter a lot: a new set of matching tea towels and a fruit bowl, a small herb planter on the windowsill, a tidy open shelf with your best plates, and a clutter-free worktop. A kitchen that is clean and uncluttered looks renovated even before the renovation starts.
Where to Splurge and Where to Save
Not every dollar in a kitchen renovation works equally hard. Splurge where your hands go every day: the faucet, the cabinet hardware, and the worktop surface around the sink. These are the parts you touch and see constantly, and cheap versions feel cheap within weeks. Save on the things that are mostly visual — wall paint, open shelving, decorative lighting — where a lower-cost option looks just as good as a premium one.
Real estate professionals consistently say the highest returns come from cabinet refinishing, updated countertops and working appliances, while expensive, highly personalised changes — a restaurant-grade range or a custom wine fridge — rarely pay back when you sell. Midrange remodels have historically recouped far more of their cost at resale than upscale ones, which is another way of saying that restraint wins. A $5,000 refresh often beats a thoughtless $15,000 one, and a thoughtful $15,000 refresh often beats a $75,000 gut job.
Phasing Your Project Over Time
You do not have to do everything at once. Phasing the project spreads the cost and lets you live in the kitchen between stages, which most families prefer to weeks of chaos. A sensible order is: phase one — paint, hardware, lighting and faucet for an instant transformation at the smallest invoice; phase two — backsplash and countertops; phase three — cabinet refacing or flooring, and any appliance upgrades.
Do the messy work first in each phase, and save the pretty finishing touches for last so you are not protecting a fresh paint job from a dusty tile saw. Take “before” photos and keep every receipt; if you sell the house one day, a record of the renovation and its costs is useful. And between phases, live with the changes for a while — you may find that phase two changes your mind about phase three.
Mistakes That Blow the Budget
The most expensive mistake is starting without a plan and changing your mind mid-project, because every change means rework and wasted materials. The second is skipping the contingency fund — budget overruns in kitchens almost always come from things hidden behind walls, and a 15 to 20 percent reserve keeps a surprise from becoming a crisis. The third is doing work you are not qualified for: do not cut corners on anything that involves water or electricity, such as plumbing connections, electrical wiring or a new faucet installation. A mistake there can cause water damage or a fire hazard, costing far more than the money you saved.
Other budget killers are ordering materials before measuring twice, choosing a style that dates quickly, and buying the cheapest version of something you use every day. A cheap faucet that drips, a thin worktop that stains, or cabinet paint that peels will all need replacing within a year — the most expensive thing you can buy is the cheap thing twice. Finally, remember that a kitchen renovation is disruptive. Plan for takeaways, a temporary kettle station, and a realistic timeline so the project does not drag on and cost more in stress than it saves in money.
Frequently Asked Questions
How much does a budget kitchen renovation cost?
A cosmetic refresh — painting cabinets, new hardware, a peel-and-stick backsplash and lighting — can be done for a few hundred to a few thousand dollars, depending on the size of the kitchen and how much you do yourself. A fuller budget renovation with refaced cabinets and new countertops typically runs into the low five figures. A full gut remodel averages more than $26,000.
What is the cheapest way to update a kitchen?
Painting the cabinets is usually the best return on investment. It changes the largest surface in the room for a few hundred dollars in materials, but only if you clean, sand and prime properly. Skipping preparation leads to peeling paint and wasted effort.
Is it worth renovating a kitchen on a budget?
Yes, if you focus on cosmetics: paint cabinets, swap hardware, add a backsplash, install new lighting and refresh the faucet. Minor kitchen remodels consistently recover a healthy share of their cost at resale, while upscale remodels recover far less.
Should I paint or reface my kitchen cabinets?
Painting is cheaper, typically a few hundred dollars for materials, while refacing involves buying new doors and drawer fronts, which can cost $1,000 or more. Paint is the best choice if the existing doors are in good shape; reface only if the doors are warped or the style is truly beyond saving.
Can I renovate a kitchen myself?
Most cosmetic work — painting, hardware, lighting, backsplash and flooring — is good DIY territory. Leave plumbing, gas and electrical work to licensed professionals, and get three quotes before hiring anyone.
To understand how kitchens evolved into the heart of the modern home, see the Wikipedia article on renovation, which covers the history and scope of home remodelling projects.